Getting your logo embroidered on business apparel starts with understanding embroidery file formats. Whether you’re ordering custom embroidered polos for your team or branded hats for a promotional event, knowing the right file types ensures crisp, professional results every time.
Understanding the Two Types of Files for Embroidery
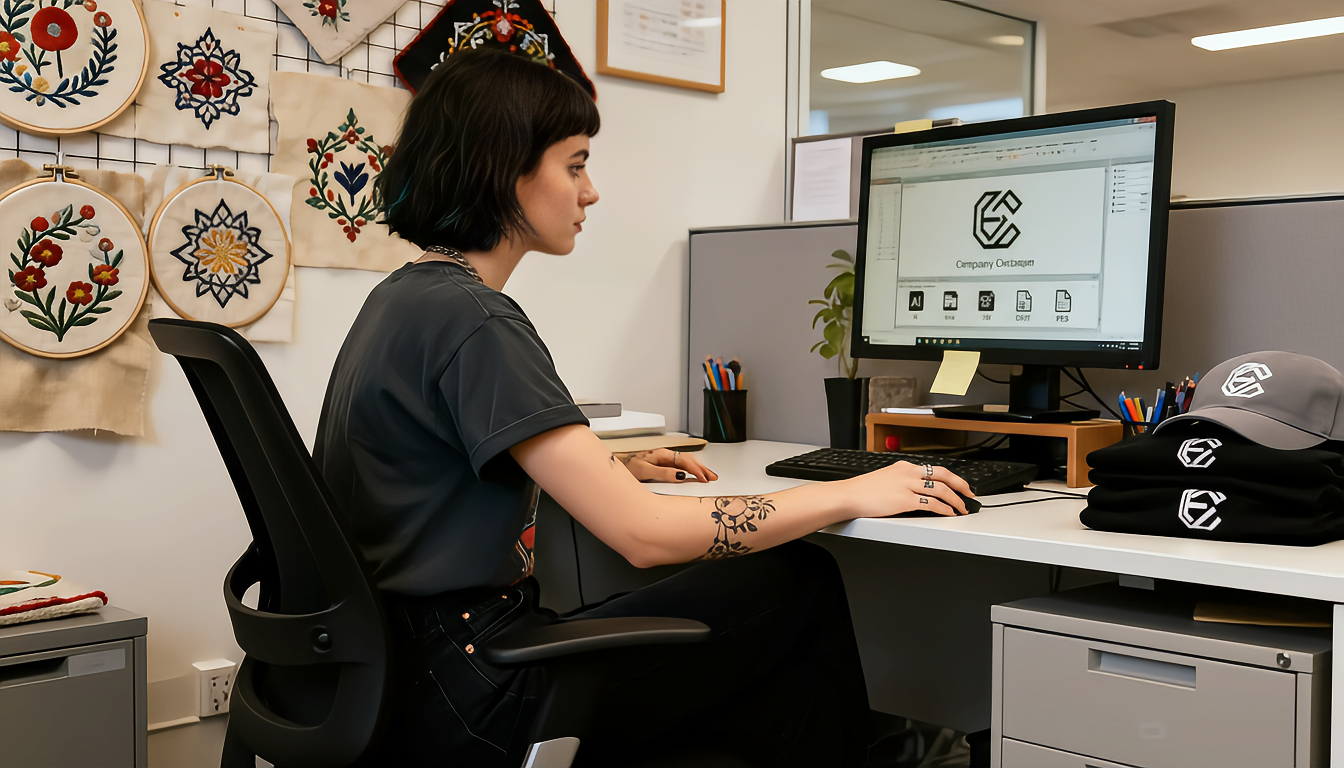
When it comes to logo embroidery, you’ll encounter two main categories: artwork files and machine-readable files. Each serves a distinct purpose in the production process.
Artwork Files: Your Starting Point
Artwork files are what you likely already have—your logo in a digital format. These files show what your logo looks like but don’t contain embroidery instructions. The most valuable formats for embroidery are vector files, which allow unlimited scaling without quality loss. Vector formats include AI (Adobe Illustrator), EPS (Encapsulated PostScript), PDF (Portable Document Format), and SVG (Scalable Vector Graphics).
If you only have raster files like JPG, PNG, or BMP, don’t worry. Professional embroidery shops can work with high-resolution raster images, though vector files always produce superior results. For best results with raster images, ensure they’re at least 300 DPI at the size you want embroidered.
Machine Files: The Production Format
Machine embroidery file formats are digitized versions of your logo that tell industrial embroidery machines exactly how to stitch your design. Common formats include DST (Tajima), PES (Brother/Babylock), EMB (Wilcom), and EXP (Melco). These files contain specific instructions about stitch types, directions, densities, and thread color sequences.
The Embroidery Digitizing Process
Most businesses don’t need to worry about creating machine files themselves. This is where professional embroidery digitizing comes in. When you submit your logo artwork to an embroidery provider like Custom 2 Wear, skilled digitizers convert your artwork into production-ready files.
During digitizing, specialists make critical decisions about how your logo will translate into thread. They determine stitch types (satin, fill, or running stitches), assign thread colors, adjust for fabric type, set proper densities to prevent puckering, and compensate for fabric pull during stitching. This expertise ensures your embroidered logo looks professional on everything from custom sweatshirts to jackets.
Best File Types to Provide for Embroidery
When submitting your logo, provide the highest quality artwork you have. Vector files in AI or EPS format are ideal because they maintain perfect clarity at any size and contain clean, defined edges that digitizers can easily trace. PDF files work well if they’re created from vector software, not scanned images. High-resolution PNG files with transparent backgrounds (at least 300 DPI) are acceptable when vector files aren’t available.
Avoid sending low-resolution JPG images, screenshots or photos of logos, heavily compressed images, or files with visible pixelation. Poor quality source files lead to fuzzy, unprofessional embroidered results.
Common Questions About Logo File Requirements
You might wonder if you need to provide machine files yourself. The answer is typically no. Reputable embroidery and print shops include digitizing as part of their service. You simply provide your artwork, and they handle the technical conversion.
If you’ve had embroidery done before, you might already have digitized files (DST, PES, etc.) from a previous vendor. These are valuable time-savers. Most embroidery shops can work with existing digitized files, though adjustments may be needed for different garment types or sizes. There’s no universal format that works on all machines—each machine brand often requires specific file types.
Preparing Your Logo for Embroidery Success
Before sending your logo, take a few preparatory steps. Review your design complexity—extremely detailed logos with fine lines or small text may need simplification. Consider size requirements, as a logo that looks great on a t-shirt may need adjustment for a smaller cap placement.
Check your color count carefully. While digital printing can reproduce unlimited colors, embroidery typically works best with 7-12 thread colors maximum. More colors increase production time and cost. Also identify any gradients or photo-realistic elements in your logo—these don’t translate well to embroidery and may require redesign.
File Compatibility Across Different Products
Different embroidered products may have specific considerations. For embroidered hats and caps, logos should typically be no wider than 4.5 inches and simplified due to the curved surface. Polo shirts and corporate wear offer more flexibility, with chest logos typically ranging from 3-4 inches wide. Jackets and outerwear can accommodate larger designs, sometimes up to 10-12 inches, making them perfect for detailed branding.
According to the Embroidery Trade Association, proper file preparation can reduce production time by up to 30% and significantly improve final product quality. Professional digitizing combined with quality artwork ensures your brand looks polished and consistent across all embroidered items.
Working With Your Embroidery Provider
When you’re ready to order custom embroidered apparel, communication with your provider is key. Clearly communicate where you want the logo placed, what size you’re envisioning, and which colors should be used. Share any branding guidelines that specify exact color matches or design standards.
Most professional shops will provide a digital proof before production begins. This mockup shows how your embroidered logo will look, including accurate size representation, thread color selections, and stitch details. Review this proof carefully and approve it before production starts.
Cost Implications of File Quality
The quality of files you provide can impact your overall embroidery costs. When you supply clean vector artwork, digitizing is straightforward and quick. If you only have low-resolution raster images, additional time and expertise are needed to clean up the artwork, which may increase digitizing fees. Complex designs with many colors require more digitizing time and result in higher per-piece embroidery costs.
One-time digitizing fees typically range from $20-$75 depending on design complexity. However, once your logo is digitized, that file can be reused for future orders, making reorders more cost-effective.
Maintaining Your Digitized Files
Once your logo has been professionally digitized, request copies of your files for your records. Store these safely with clear labeling that includes the design name, size, product type it was created for, and date of creation. This organization helps with reordering and ensures consistency across all your branded merchandise.
Digitized files are typically specific to the size and product they’re created for. A logo digitized for a hat won’t automatically work perfectly on a jacket at a different size. Keep documentation of what files work for what applications.
Understanding embroidery file formats doesn’t have to be complicated. By providing high-quality vector artwork and working with experienced professionals, you’ll achieve outstanding results on all your custom embroidered business apparel.
FAQ Section
What’s the best file format to send for embroidery?
Vector files (AI, EPS, or PDF) are the best embroidery file formats because they maintain perfect quality at any size and give digitizers clean lines to work with. If you don’t have vector files, send the highest resolution PNG or PDF you have—at least 300 DPI.
Do I need to create DST or PES files myself?
No, you don’t need to create machine files yourself. Professional embroidery companies like Custom 2 Wear handle the digitizing process as part of their service. Simply provide your logo in the best format you have available.
Can you embroider from a JPG file?
Yes, embroiderers can work with JPG files, but the quality of the final embroidery depends on the image resolution. For best results, provide a high-resolution JPG (at least 300 DPI) or, better yet, a vector format.
Why is vector better than raster for embroidery?
Vector files use mathematical equations to define shapes, so they can be scaled infinitely without losing quality. Raster images (JPG, PNG) are made of pixels that become blurry when enlarged. For embroidery, clean edges and scalability make vector files superior.
How much does logo digitizing cost?
Logo digitizing typically costs between $20-$75 as a one-time fee, depending on the complexity of your design. This fee is usually charged on your first order, and the digitized file can be reused for all future orders of the same design.
What if my logo has gradients or shadows?
Gradients and shadows don’t translate well to embroidery because thread can’t create smooth color transitions like digital printing can. Your embroidery provider will typically simplify these elements or suggest minor logo modifications to ensure a professional embroidered result.
Can I use the same file for different products?
Not always. Embroidery files are often specific to the size and product type. A logo digitized for a 3-inch chest placement on a polo shirt may need resizing or redigitizing for a 5-inch back placement on a jacket. Your embroidery provider can advise on when new digitizing is needed.